If you visit Product Hunt, you’ll be prompted by your browser (if your browser is Chrome, Firefox, Safari, or Android) if you wish to receive notifications from this site:
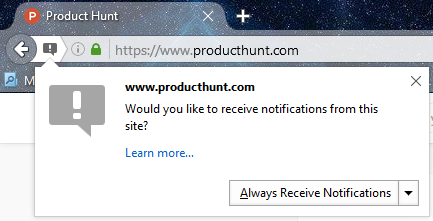
If you click yes, every time Product Hunt release a new blog post, your computer will notify you with a pop up message in the lower right hand corner of your monitor. Try subscribing to Product Hunt and see what happens.
If you ever want to unsubscribe from notifications, click the gear icon at bottom right of the notification window and choose Block next to the site you want to unsubscribe from.
If you’d like this on your own website, you can have it through various browser web push notification providers.
This blog post is about installing web push notifications on your WordPress website using One Signal.
For the most seamless user experience, your site needs to have a secure certificate so it loads securely over https. I’ll be publishing a blog post about how to gain a free SSL certificate through Let’s Encrypt soon.
If your site only loads over http, One Signal displays a red bell icon at bottom right of your webpage rather than prompting the user if they want to subscribe using the notification window above.
![]()
How to install OneSignal on your WordPress website
Install OneSignal WordPress plugin
Download or install the OneSignal WordPress plugin. Enable the plugin.
2. Sign up for a OneSignal account
Visit https://www.onesignal.com/ in a new browser tab and click Sign Up Free.
3. Add an App
- Once you’ve signed in, click Add a new app
- Give the app a name – this name is not public
- In the Select one platform to configure window, select Website Push and click Next
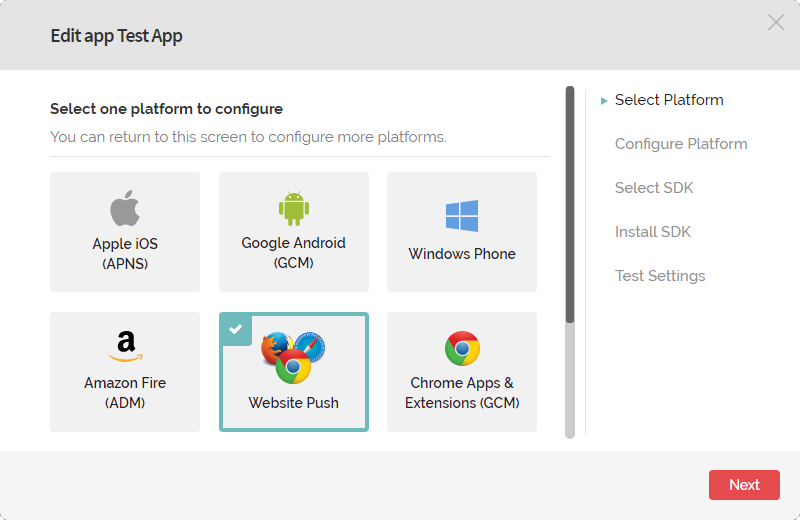
- At this next step we’ll first configure Google Chrome and Mozilla Firefox – select this option
- At this stage, open the Google Services Wizard in a new browser tab
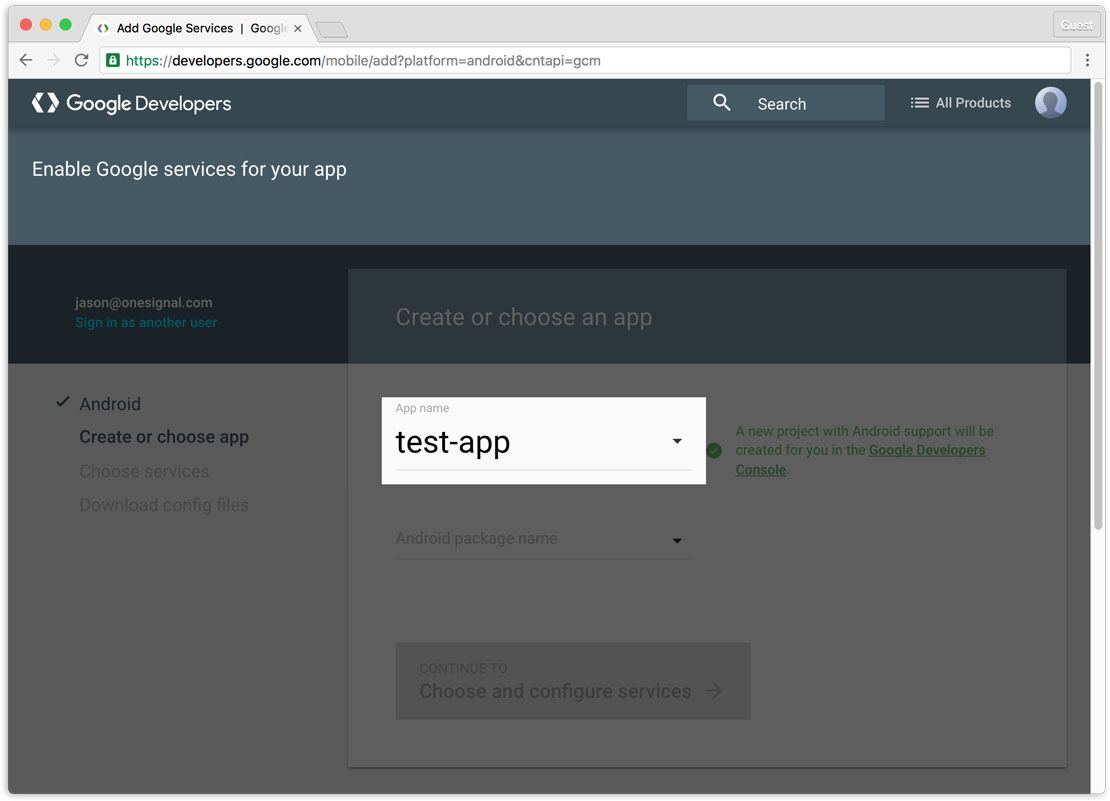
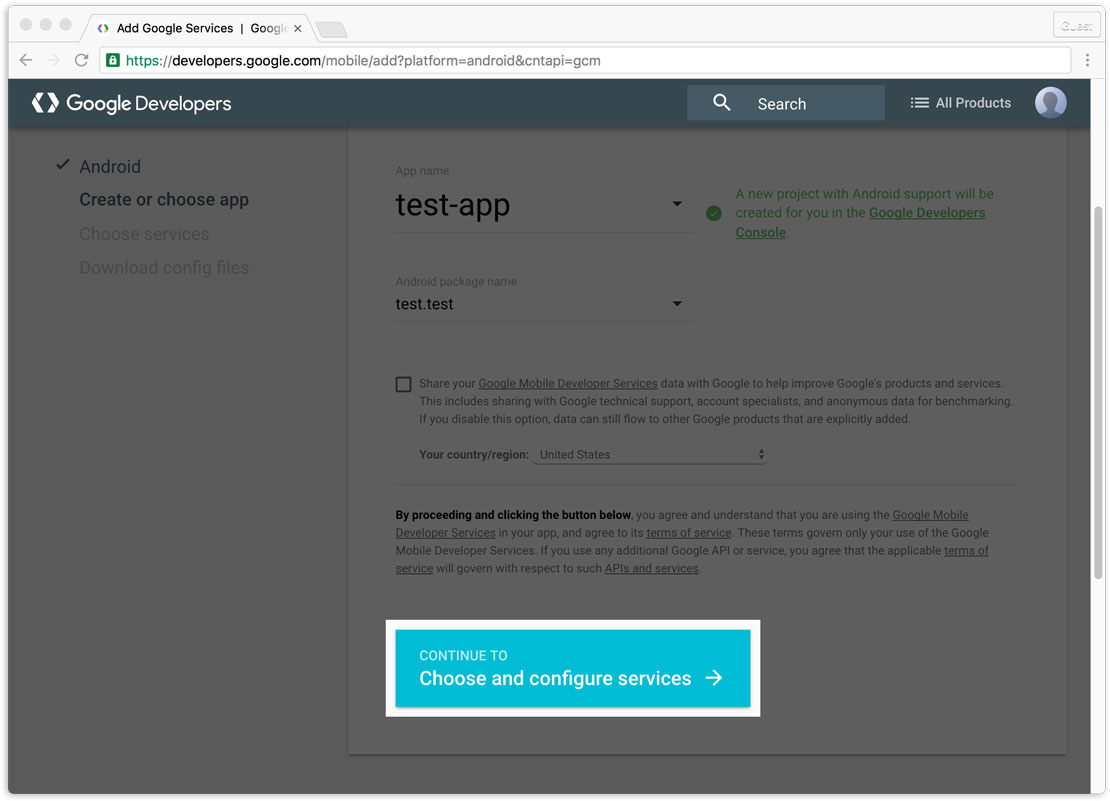
- Type any name to create a new app, or select an existing Google app from the dropdown.
- In this example, we create an app named
test-app
- We do not use the Android package name, but you must enter a value to continue. Please use the value
test.testas shown below.
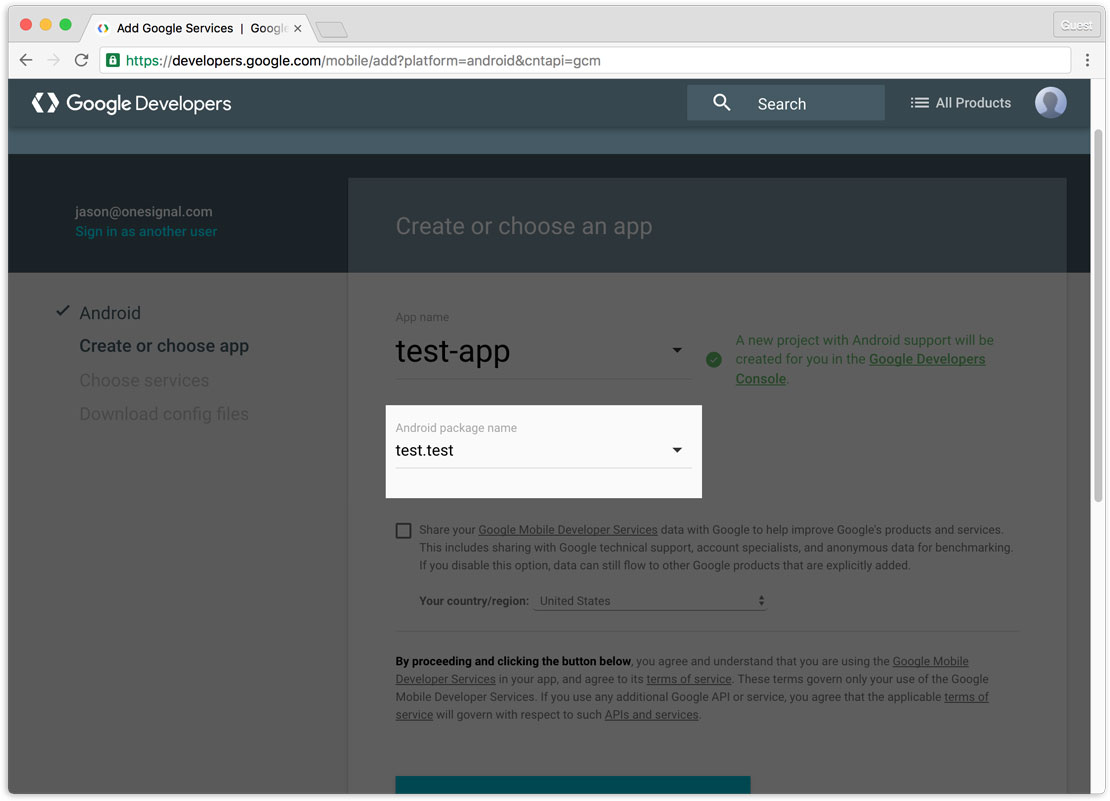
- Choose and configure services to continue.
- Wait a minute for the project to be created.
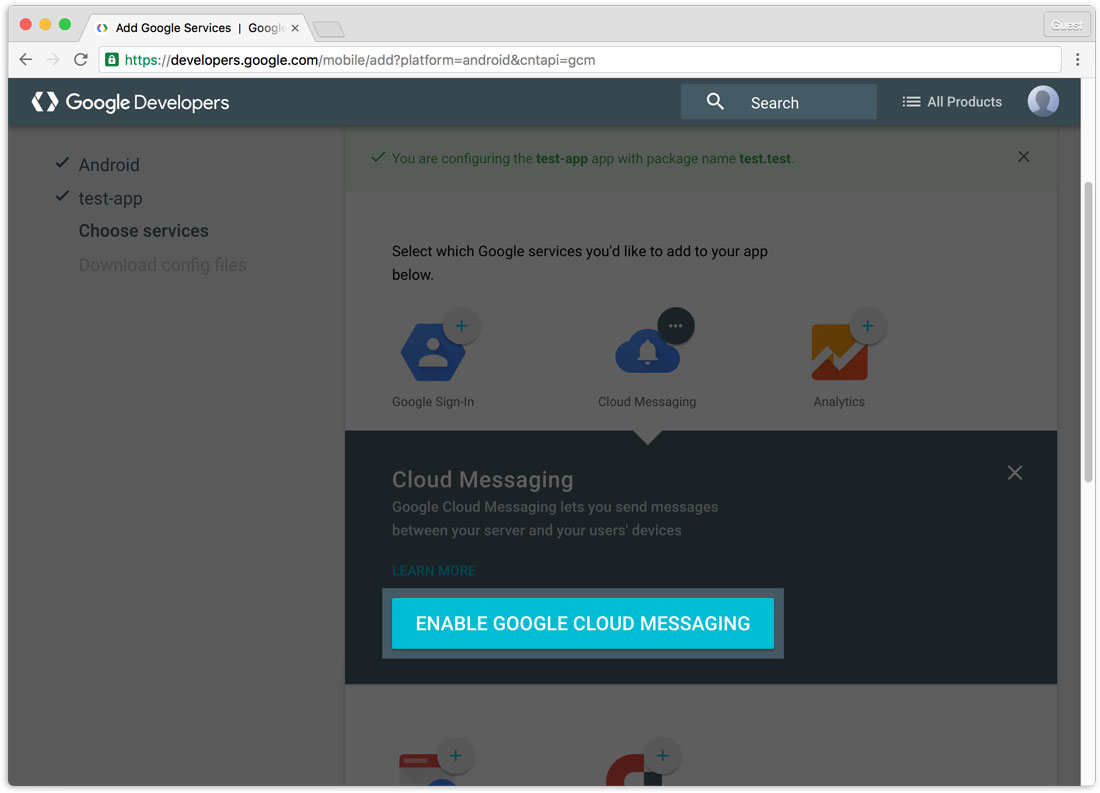
- Click Enable Google Cloud Messaging.
- Get your Google keys. Save the two values listed
- You’ll need your Server API Key later in our SDK Installation guide
- You’ll need your Sender ID, also known as the Project Number, later as well
- Go back to your OneSignal browser tab, and:
- Enter your site URL
- Enter your Google Server API Key
- Leave Default Notification Icon URL blank unless you want to customize the notification URL
- If necessary, click My site is not fully HTTPS if your site is on HTTP. If you select this:
- Enter a string to use as your OneSignal subdomain – use a pretty name if you wish
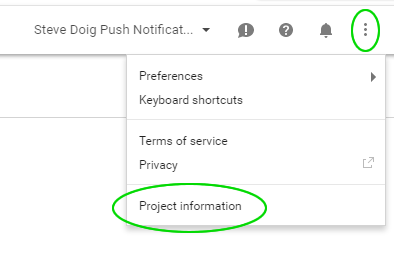
- Enter your Google Project Number. You can get this by:
- visiting https://console.developers.google.com/iam-admin/projects
- selecting your project
- click the 3 dot icon at top right, and select Project Information
- On the next screen Select your target SDK, select WordPress
- Make note of the Your Rest API Key and Your App ID
- Go back to your WordPress admin browser tab, select OneSignal Push in the left hand admin navigation column
- Go to the Configuration tab
- Enter Your Rest API Key and Your App ID
- Enter your Google Project Number. You can get this by following the instructions above
- Scroll down to the bottom of the page and select Save.
- Open your WordPress website home page in a new browser tab. Confirm you’re being prompted to allow notifications (if your site is on HTTPS) or you see a red bell icon at bottom right (if you’re on HTTP).
- Once confirmed, go back to your OneSignal browser tab and click Check Subscribed Users.
- Click Next, and if you’re prompted for a User ID, open https://onesignal.com/apps/ in a new browser tab, click your application name, in the left hand navigation column click All Users, and grab the Player ID. Enter this as the User ID back in your last browser tab, and click Next
- Click Send Test Notification
- Wait 10 seconds, and hopefully a notification like the following will display on your screen:

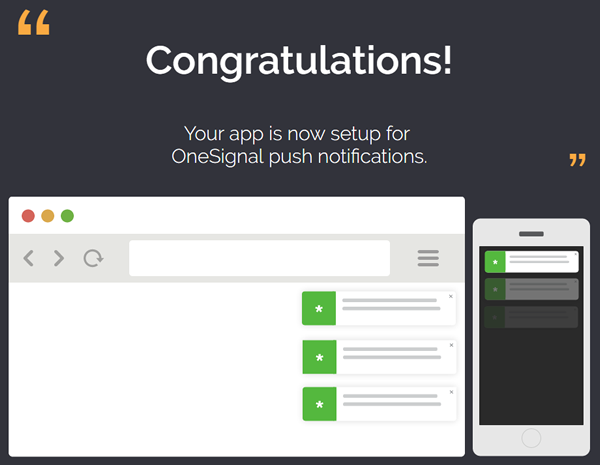
- Click the message. You should see a message in your browser congratulating you that your app is now setup for push notifications:
- Go back to your last browser tab
- Click Check Notification Status. Hopefully you will be congratulated again:
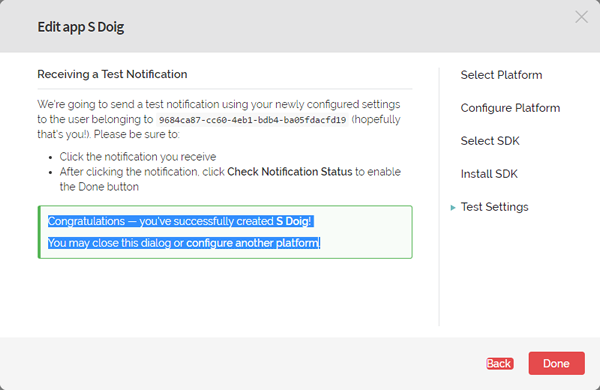
- Good job! Click Done.
- You’ve now set up web push notifications for Google Chrome and Mozilla Firefox.
- If you’d like to do the same for Apple Safari, continue following.
- In the same browser tab you just clicked Done in, click App Settings on the left, scroll down to Safari and click Configure.
- Enter your site name and URL
- Click Save
- Select WordPress and click Next
- Grab Your Safari Web ID
- Go to your WordPress admin > OneSignal Push (on the left) > Configuration tab, and enter your Safari Web ID. Scroll to the bottom of the page and click Save
- Load your site in a modern version of Safari. Ask your mate to if you don’t have Safari. Ensure Safari asks if you want to subscribe to notifications. Click Yes.
- Go back to the last OneSignal browser tab you were in and click Check Subscribed Users.
- Go back to step 14 above, and follow through to step 20.
- You’ve now set up web push notifications for Apple Safari also.
This just scratches the surface of what OneSignal can do. If you go back to your App Settings in OneSignal, you can see you can set up notifications for Mobile & Desktop Platforms too:
- Apple iOS
- Google Android
- Windows Phone 8.0
- Windows Phone 8.1+
- Amazon Fire (Amazon’s version of the iPad)
- Mac OS X
- Google Chrome Apps & Extensions
If you want me to cover those too, drop a comment and say so. 🙂